Easy Steps to Speed Up Your Computer
It is sure that all the laptops and computers will experience slower speeds at some point in the future as software becomes more hardware intensive and the way your PC behaves to these changes can have a significant impact on its performance.
Here, you will get all the important tweaks and tips with some expert advice that will help you speed up your sluggish laptop and make it faster.
In this tutorial, you will learn: How to speed up a laptop, computer.
- Step 1) Uninstall unnecessary Software
- Step 2) Close system tray programs
- Step 3) Stop programs running on startup
- Step 4) Defrag your hard disk
- Step 5) Select Opaque Effect
- Step 6) Add more RAM to speed up the Laptop
- Step 7) Reduce the Boot Menu time-out
- Step 8) Check for spyware and viruses to speed up Laptop
- Step 9) Disable automatic Updates
- Step 10) Check your power plan
- Step 11) Analyze your web browser
- Step 12) Shut off Windows tips and tricks
- Step 13) Clean up your Disk
- Step 14) Adjust or disable graphics and animations
- Step 15) Turn on automated Windows maintenance
- Step 16) Update device drivers
- Step 17) Contact the Windows Support
- Few other important tips
How to Speed up Windows 10 Laptop or PC
Follow these steps to learn how you can speed up your Computer or Laptop.
Step 1) Uninstall unnecessary Software
Your Laptop comes preloaded with a number of applications that many people will not use. However, these applications will take lots of space on your Laptop. You can identify this when you see a pop-up prompting to update Software that has never been used before.
To uninstall any software
Step a ) go to control panel->Under Programs->Click Uninstall a program
Step b) Right-click on the program you want to uninstall
Step 2) Close system tray programs
When you find that your laptop is starting very slowly, then it might be a case that your laptop is overcrowded with too many starting programs.
Here is the step you need to follow:
Step a) To access the system tray, click on the upward arrow toward the right side of your taskbar.
Step b) It will display all the programs running, so you can remove all the unwanted programs from the taskbar.

Step 3) Stop programs running on startup
Like programs running in the tray, other Windows 10 applications that automatically run on startup can slow down the processing of your laptop.
You should keep the programs you want to run, like free antivirus software, but others may be unwanted, which you should remove to faster your laptop.
Step a) You should right-click on the taskbar and select Task Manager or Click Ctrl-Shift-Escape to launch the Task Manager.
Step b) Open the Startup tab, and you will be able to view all the items that run on startup, along with their impact.

The above-given process helps your Laptop to perform better if you disable the high-impact ones. It also helps you to disable programs that are vital for Windows to operate,+ but it is not advisable to close them. For example, the ones with Microsoft listed as the publisher should be left alone.
To disable any of this service, you need to right-click and hit Disable. Remember, you are just closing that program which you do not want to run on your startup.
Step 4) Defrag your hard disk
Mechanical hard drives often suffer from fragmentation. This happens because the various bits that make up a complete file are scattered across the drive platter's physical surface.
The defragmentation method helps you to restructure the disk. Therefore, the bits that make up various files should be grouped in the same physical area, which increases the speed of hard drive access time.
To defragment your hard disk:
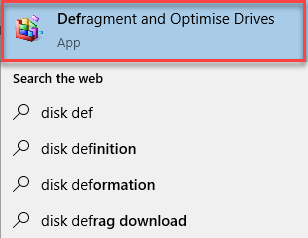
Step a) First, you need to select the search bar on the taskbar and enter defrag word.
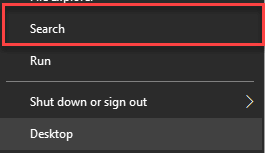
Step b) Select Defragment and Optimize Drives.
Step c) You need to select the disk drive you want to optimize.

Step d) Select the Optimize button.

Also Check: Best Defrag Software for Disk Defragmentation
Step 5) Select Opaque Effect
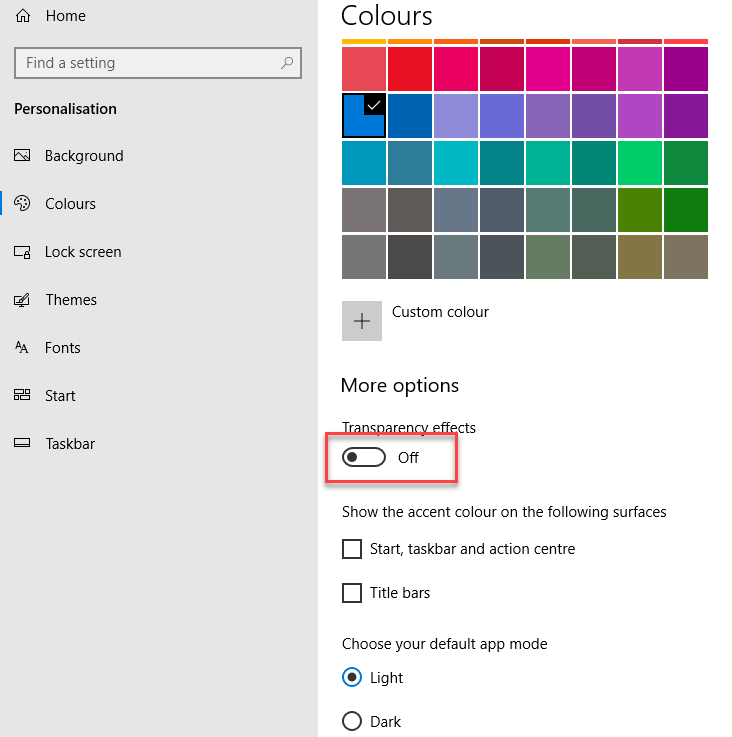
Windows 10's new Start menu is very transparent, but that costs your system resources. To get back your resources, you can disable transparency from the Start menu, action center, and taskbar:
For that, you need to perform the following steps:
Step a) Open the Settings menu.
Step b) Select the Personalization and select option Colors and toggle off.
Step c) Make Start, taskbar, and action center transparent.
Step 6) Add more RAM to speed up the Laptop
A RAM can add virtual memory to your Laptop or Windows 10 system. Lesser RAM slows down the operating system and brings it to a screeching halt.
Basically, the more you use your computer, the more your computer starts using the virtual memory. So, you should always add additional RAM (Random Access Memory) to your Laptop or computer if you are using it intensively. By adding more RAM modules, you can get faster performance from your Laptop.
Adding more RAM will help you with smooth multitasking and better overall performance. To add more RAM to your laptop, you need to first know about your laptop motherboard, like how much RAM and which type of RAM does it support? Then you need to identify the RAM slots available in your laptop motherboard.
For example, if your laptop has 2 RAM slots that support up to 16GB, 1600 MHz DDR3 memory, and it has 1 RAM module of 8GB 1333 MHz installed already, then you can add a second RAM module of either 1GB, 2GB, 4GB or 8GB with similar frequency to get the best performance out of your laptop.
Step 7) Reduce the Boot Menu time-out
When your laptop starts up, the boot menu is displayed for a specific time before the operating system loads. This helps you to start Windows 10 in Safe Mode.
You can save a few seconds from your startup time by changing the boot menu time-out, which is set for 30 seconds by default. To do that, you can follow the below steps:

Step 1) Right-click on the Start button and click Control Panel.
Step 2) Go to System > Advanced system settings, and under Startup and Recovery, click Settings.
Step 3) Next to Time to display a list of operating systems: you should change the value from 30 seconds to 10 seconds and then click the OK button.
Step 8) Check for spyware and viruses to speed up Laptop
You need to use spyware or virus scanner Software to speed up your Laptop. You can check which antivirus program manages your computer to scan and remove malicious software to speed up the Laptop.
You should also buy antivirus software to detect malicious software and protect your hard drive from malware. You can use antivirus programs to delete the circulating malware.
To use antivirus to prevent your Laptop from slowing down, make sure you have an antivirus program that scans your Laptop for these harmful threats. However, malware is not a major cause for your slow computer. But you should always protect your hard drive, memory, CPU, network, firewall with antivirus and security software that help you protect your PC. You can use antivirus like AVAST to clean up malware on your PC.
Step 9) Disable automatic Updates
Normally, it would help if you do not disable automatic software updates. It is the easiest way to keep your machine safe and secure from cyber-attacks and fix compatibility issues. Turning off all the automatic updates can cause your laptop to become vulnerable to serious security holes.
On the other side, some cases may be considered excusable. For example, suppose you are using a laptop as a gaming device. At that time, there is a high possibility that game distribution platforms like Steam and Epic Games store multiple large updates and patches on your computer. For those updates, your software and hardware also need to be compatible with new updates to run the Games.
You should remove critical Software or unused services – such as Windows services or antivirus updates – that are left on automatic updates.
However, suppose you are pushed for processing the updates. In that case, you can set the updates to download and install at a specific time when you are unlikely to be using the device, like night or at the weekend.
Step 10) Check your power plan
It is important to take a peek at your power plans in the Control Panel on a laptop.
For doing that, go to the Control panel-> System and Security-> Power Options. Here, you will find the power plan your laptop is currently running on. It is most likely to be Balanced mode. Now, you can either select High Performance mode if you need better performance and you have some heavy usage, or you can choose Power saver mode if you have light usage.
Step a) Select -> Settings app's System > Power & sleep option
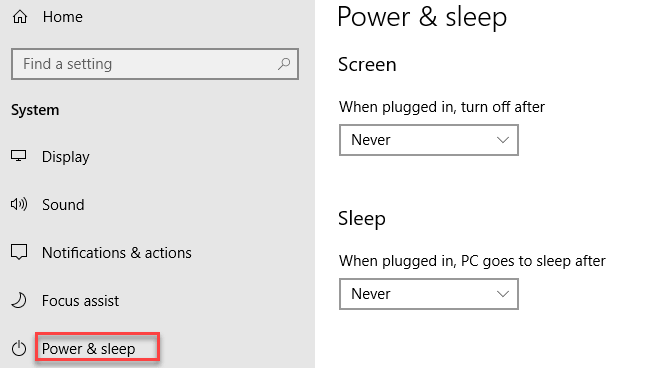
Step b) Click the Additional power settings link.

Step c) Click the drop-down arrow on the right side to "Show additional plans" and select High Performance.


Step d) And then select the high-performance option.
Step 11) Analyze your web browser
Minor adjustments surely help you to make a difference with the speed of your Laptop. A web browser you are using may slow down or speed up the rate at which web pages, videos, and images are loading. If you have been using a specific browser and notice that there is a delay time, then you should consider an alternative option with better loading speeds.
Not only the browser you use slows down your System when you are using it, but if you have a full cache that has not been removed in a while, it surely causes a lag in the performance. To solve this, you need to visit your browser settings and make sure that you clear the history, cache, and cookies from the browser.
Your cache only includes what you will get when you are visiting various websites. Many websites use cookies and ads to find out your browsing habits which you may click when you visit a website. A cache holds these files as information.
So if you spend plenty of time online, clearing cache will surely help you speed up your laptop. However, it is easy to fix. There are two methods to do this in popular web browsers:
- For Google Chrome:
- Go to Settings-> Privacy and Security
- Select Clear Browsing Data
You can see that Chrome allows you to delete data within a specific time period. But, if you never deleted the files in your cache before, you should select "All time."
- Select -> "Cookies and other site data," and "Cached images and files."
- Select the "Clear data" option.
The advanced option also allows you to clear passwords, autofill form data, site settings, and hosted app data.
It is a good idea to have your favorite websites bookmarked before clearing the data.
Step 12) Shut off Windows tips and tricks
Windows 10 keeps an eye on what you are doing and offers tips about things you might want to do with the operating system.
Windows 10 is watching what you are doing and offers advice can also make your Laptop run more slowly. Therefore, to speed things up, you should stop Windows 10 Tips and Tricks. To do so,
Step a) Click the Start button, select the Settings icon.
Step b) Go to System and Select the Notifications & actions.

Step c) Scroll down and select the Notifications section and then disable "Get tips, tricks, and suggestions as you use Windows."
Step 13) Clean up your Disk
You need to open the Disk Cleanup utility that has been an internal part of Windows OS versions. This disk cleaning utility also helps you to find unwanted junk like temporary files, offline Web pages, and installer files on your PC. You will also find that your Recycle Bin is stuffed. This has a significant effect on speed if your hard drive is nearer to get full.
However, if you do not have disk cleanup scheduled regularly, you can set up this in the Optimize Drives tool. You may find this by typing its name in the Cortana search box after the Start button.
Step a) Go to Control Panel
Step b) Select the System and Security> Administrative Tools and
Step c) Select the Disk Cleanup option.


Step d) Select the cleanup system files option.

Step 14) Adjust or disable graphics and animations
Windows come with loads of graphics, including animations like fading effects and flyouts. This makes the application appear sleeker and more refined and contributes to a better overall user experience. It also sometimes slows down your computer.
Therefore, it is better to adjust or disable these settings in the latest Windows OS version, and hopefully, it will save a little processing power.
Step 15) Turn on automated Windows maintenance
Every day, in the background, Windows 10 performs maintenance on your PC. It serves things like security scanning and performs system diagnostic. It also helps you to make sure everything is automatically fixed and solved if it finds any problems.
This allows your laptop to run at its peak performance. By default, this automatic maintenance runs every day at 2:00 A.M., as long as your device is plugged with a power source and is asleep.
Sometimes, this feature can be accidentally turned off, or you have not had your laptop plugged in for some time, so the maintenance has not been done. You can turn this on in your system and run it every day, and you can run it manually if you would like.
Step a) Run the Control Panel app and select System and Security > Security and Maintenance.
Step b) In the Maintenance section, under Automatic Maintenance, select "Start maintenance" if you want it to run that immediately.
To make sure that it runs every day:
- Click "Change maintenance settings," and from the screen that appears.
- Select the Time you wish to maintenance to run and the box next to "Allow scheduled maintenance to wake up my computer at the scheduled time.
- Click OK.
Step c) Go to Control Panel>System and Security>System>Advanced system settings.

Step d) Open the performance section and select the Settings, having a full list of options.
Step e) You can select and Adjust for best performance, or you can remove it individually.
Step 16) Update device drivers
Upgrading your drivers is often a handy fix for something not working on your Laptop. It is always a great idea to keep your device drivers up to date whenever possible.
Step a) To check for an upgrade, right-click the "Home" button and select "Device Manager."
Step b) Right-click the device you want to upgrade the drivers on.
However, suppose you change something about your physical setup. In that case, you need to relocate it within the Device Manager to upgrade the drivers and ensure everything is working properly.
Also Check: Best Driver Update Software
Step 17)Contact the Windows Support
This is certainly the last option if you still find the same issue again and again. Briefly mail your problem to Windows Support Team and wait for them to get the answer to fix the problem.
Few other important tips
#18. Remove unused browser extensions: These can certainly slow down your browsing experience, so you should do this task regularly.
#19. Run fewer simultaneous programs: Unlike multitasking can be detrimental to your productivity. Running plenty of applications simultaneously can weaken the speed of your computer. So you should select and close the programs instead of just minimizing them. You will see some improvement.
#20. Reinstall the Operating System: If you have tried everything and are still finding issues, the last option to fix this problem is to install the latest Windows version.
#21. Keep your computer clean: This may look obvious, but accumulated dust and grime slow down the speed of your computer. Physically cleaning your computer helps you to speed up and prevent overheating.
#22. Stop One Drive: You need to stop One Drive as it might take lots of space in your RAM. You need to check the system tray for that.
#23. Manage your temperatures:
It is a good idea to use a CPU temperature monitoring tool to keep an eye on your system temperatures.
#24. Create a restore point and restore your system:
To do this, you need to do the following steps:
- You can hit the big "System Restore" button to restore your version of Windows to a saved restore point.
- Your PC should regularly create these by default, but it saves over the previous version when it does so.
#25. Switch to Linux:
Switching to Linux is the last resort in reviving your laptop. Of course, this might not be an option for everyone, but it is worth considering.
stinsonmilatichated.blogspot.com
Source: https://www.guru99.com/speed-up-windows-10-laptop-computer.html
0 Response to "Easy Steps to Speed Up Your Computer"
Yorum Gönder